(1)
Private Practice Fulya Teras, Istanbul, Turkey
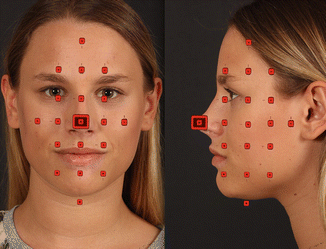
1 Patient Photographs
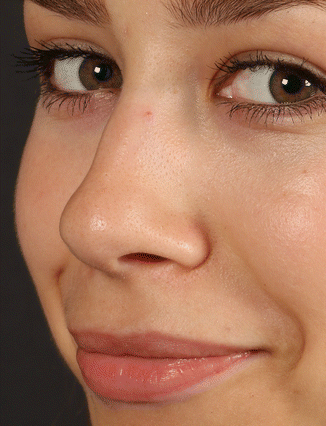
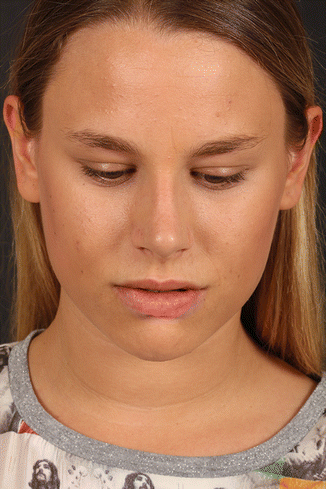
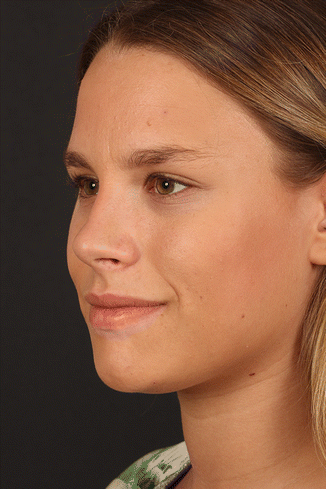
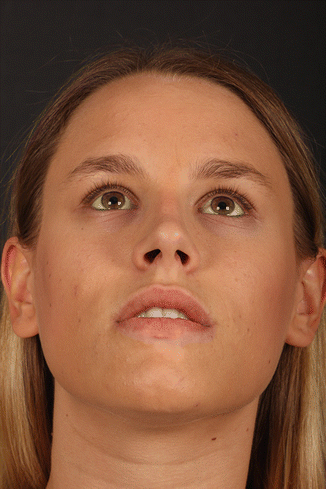
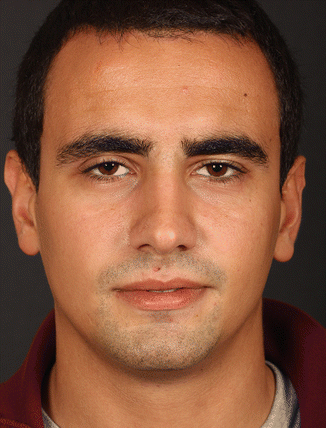
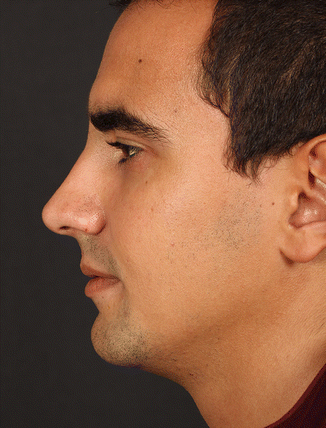
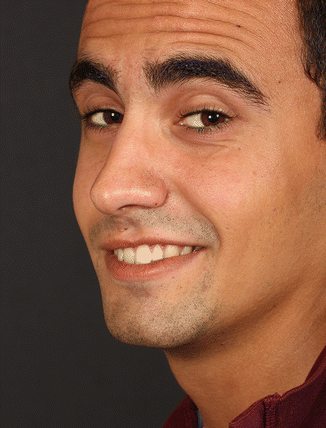
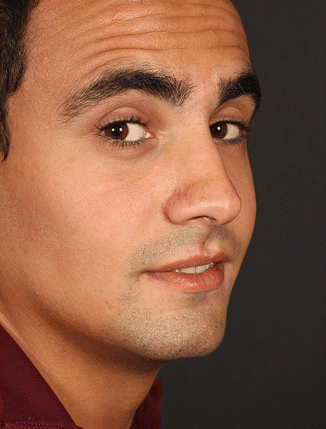
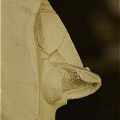
My interview starts with taking photographs. I designed one of the rooms in my office as a photography studio. I archive the photographs with patient names. In addition to that I have a “beautiful Nose” folder. I take photos of people with beautiful noses. I ask my patients’ relatives and my friends who have good-looking noses and take their photo. I collect the photographs that patients bring to me. Sometimes I look at them. I suggest that you also do this. You can see a female and a male nose that I consider beautiful below. You can return to these photos for the aesthetic details to be explained further.
You should employ a photographic standard. The more importance you give to patient photography, the more you will develop your own standards and make your patient feel valued. Do not take photos just before surgery. Be done with your photography and design work during patient consultation.
1.1 The Photography System
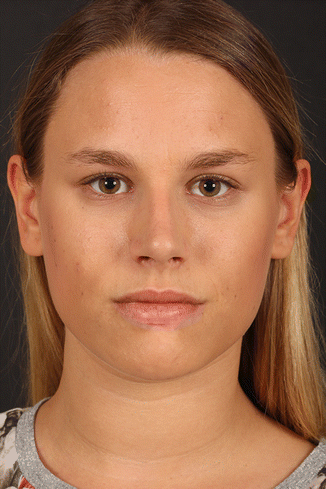
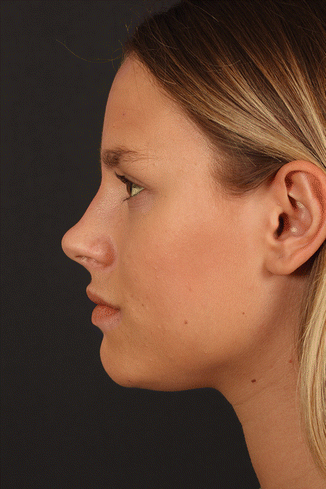
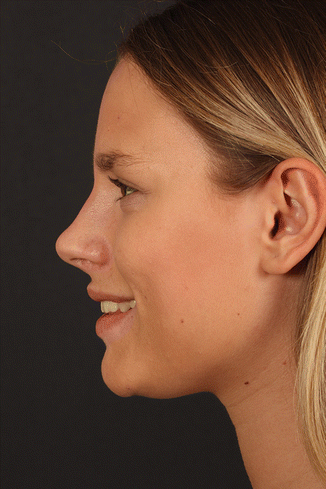
Obtain an intermediate-level SLR camera. A proper lens (e.g. macro) is more important than the camera itself. I use a 100 mm macro lens. Standard shots cannot be taken with zoom lenses. If you use a zoom lens, try to take photos adjusting the zoom to 100 mm. You should have a standard background. It’s better to select the correct background color in advance, because you cannot change it later. The best choices in my opinion are black, grey, blue and dark blue. Black will appear more artistic, but blue is a better choice for scientific purposes.
Shadows will not occur if there is at least 1 m distance between the patient and the background. If you have a studio with paraflash system you should be able to take good photos.
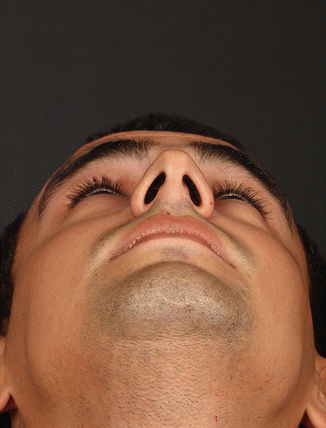
Take vertical (portrait) photos. Archiving and photo merging will be much easier. If you take horizontal (landscape) photos, you will be creating extra work for yourself later on.
Remember that, if you do not allow a distance between you and your patient during photographing, you cannot take good photos. If you use a macro lens, you should have at least a 2 m distance between you and your patient in order to capture your patient’s face in the correct quadrage. Another important issue is the position of the patient in relation to light sources.
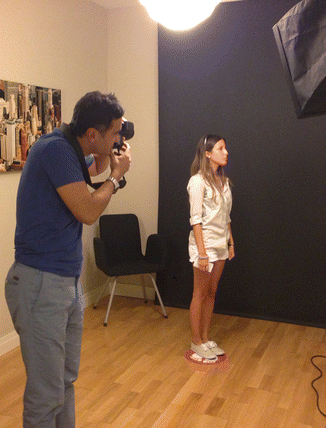
The location and intensity of light reflections change as the patient changes positions. Because of that, the location of the lights and patient position must remain stable. In our photography studio there is a circle on the ground, guiding the patient position. You can use self-adhesive footprints for this purpose.
1.2 Preoperative Photographs
For years I have been taking photos of the cartilage structure during the operation, before and after the surgery. Evaluating your first-year results with preop photographs will accelerate your development. In my practice, I use an SLR camera with 100 mm macro lens for preoperative surgical photographs in the operating room as well.
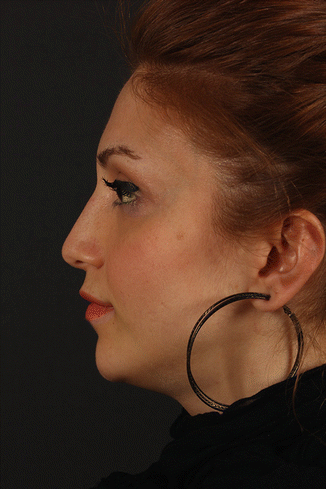
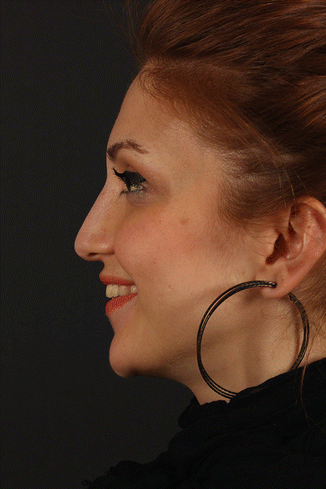
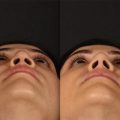
1.3 Light Cheats
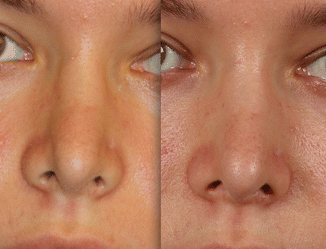
The lights, the patient and your position should never change. Sometimes I look at patient eyes in photographs presented at congresses. Using a single flash for the preoperative photo and paraflashs for the postoperative one is a common cheat. A single flash exaggerates any deformity. Half of the surgery can therefore be done by light changes alone. For instance, no surgery is documented in the photographs below. Both photos were taken with a 10 s interval. The photograph on the left was taken with a single top flash, and the photograph on the right using paraflashs.
The same cheat occurred with these photographs as well.
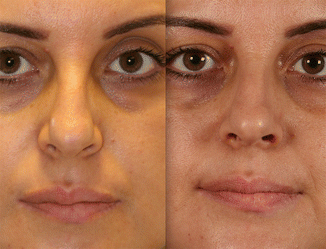
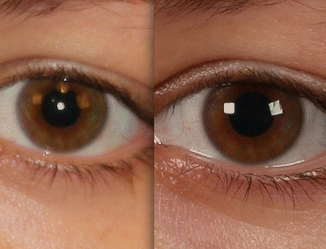
You can easily determine what kind of lighting has been used by simply looking at the patient’s eyes.
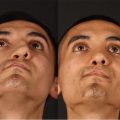
1.4 Fish-Eye
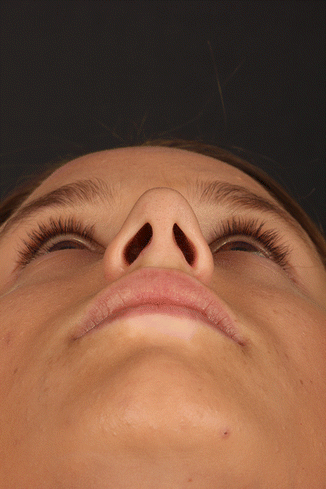
If you get close to the patient and zoom out with the lens, the photograph will be fish-eyed. Photos which are taken from the front will make the nose look bigger and the ears smaller. Profile photos make the ears look bigger and the nose smaller. In the front view, you should look at how much of the ears you can see behind the cheeks. In fish-eyed photos, you can see less of the ears. The nose tip will also look bulbous. You can correct tip bulbosity just by changing the lens. If you use a 100 mm macro lens without any zoom, you will not experience any problems.
The photos below do not document any surgery in between. I took the photo on the left by using a 35–85 lens set to 35’ and the photo on the right by using a 100 mm lens. There is no difference in lighting either.
1.5 Shooting with a Smartphone
You cannot take patient photos with a smartphone. Even the best phone on the market takes fish-eyed photos. People take their own photos with smartphones and evaluate their noses accordingly. Most of my patients complain that their noses are big in photos. You should know what a fish-eye problem is and be able to describe it to your patient.
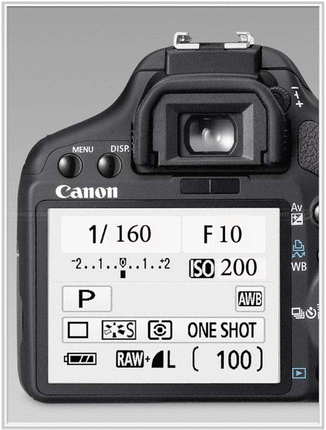
1.6 Camera Settings
I am not a professional photographer, but I have acquired all the knowledge necessary for my purposes. You can take incredible photographs with a few adjustments. It is unfair to receive criticism as a surgeon because of bad photos instead of a compliment for good surgical results. If you are going to use the paraflash system, an intermediate-level SLR camera will be sufficient.
1.6.1 Focus Settings
Photographers usually choose the eyes in portrait photographs for focusing. In rhinoplasty photographs, it is better to choose the nose as the focus point. The focus point can be set to the nose.
1.6.2 ISO
This is the camera sensitivity to light. 100 and 200 are appropriate. As ISO increases, the color quality of the photos deteriorates. Low ISO values need intense light. If you have paraflashlights, you can easily take photos with an ISO setting of 100.
1.6.3 Shutter Rate
It shows how long the diaphragm stays open. If the shutter rate is longer than 1/125 the photo can be affected due to shaking. I generally use a setting of 1/160. If you choose a shutter rate faster than 1/200 there can be disparity between your camera and the paraflashlights. This can cause photos to have a dark half.
1.6.4 F
You can take artistic photos with low “f” valued focus distance. The front and back of the focus point become blurry. We need a deep field of depth. A value of 10 and above is adequate.
1.6.5 Skin Color
The patient’s skin reflects light in different amounts. If the patient’s face is dark in photos, then decrease the “f” value. If the patient’s face is bright in photos, then increase the “f” value. I take my all photos by changing the “f” value between 10 and 13. In order to take good photos in an “f” value of 11 you need to adjust the power of the paraflashlight.
1.7 Paraflash Settings
You can show aesthetic lines better in front view if one of the paraflashlights is more intense, but then you will have problems with profile photos. Since we make evaluations based on photos taken from all angles, it makes sense to adjust the paraflashlight intensity to the same level for all. Taking photos in sunlight coming from windows can give better reflections, but you cannot take the same photo at different times of day. Therefore a paraflash system is a must.
Since the light intensity of new video cameras is high, it is possible to have great details in the afternoon light from one angle. But it is difficult to archive videos and have one standard for all recordings.
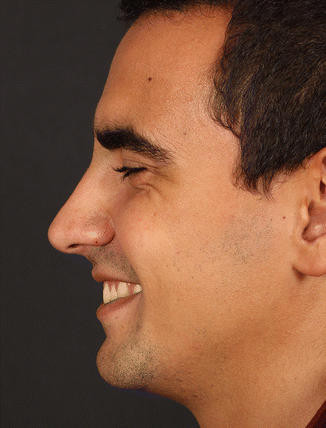
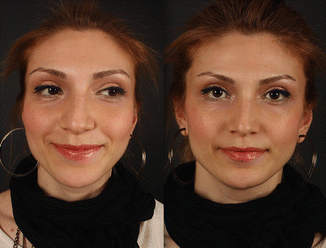
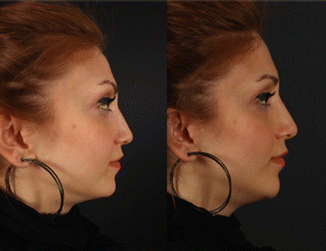
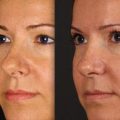
Here you can see a patient example with standard settings.


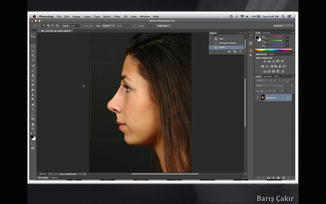
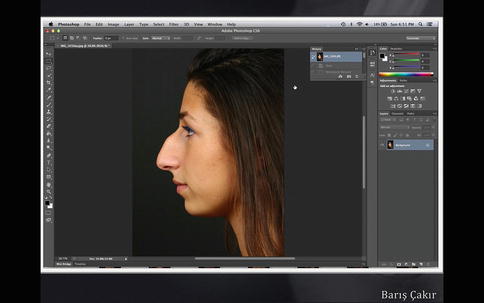
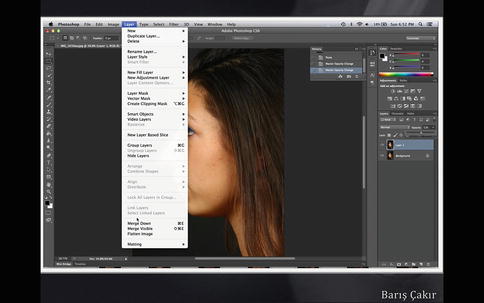
1.8 Imaging
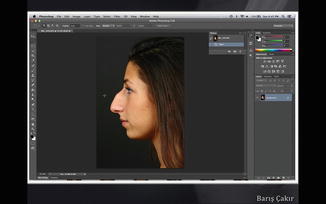
I am often asked about my photography techniques and imaging. Therefore I will show step by step how to design the nose in Photoshop.
Open the file.
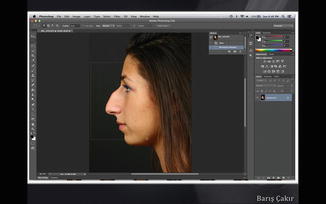
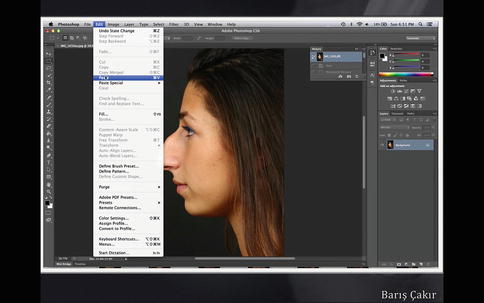
Choose the nose with Rectangular mask.
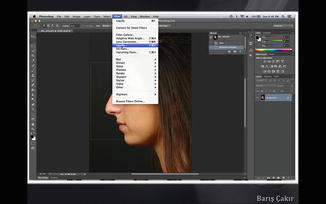
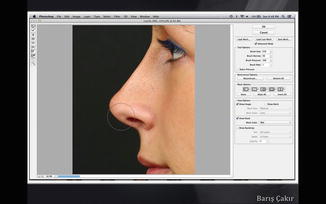
Open the Liquify filter.
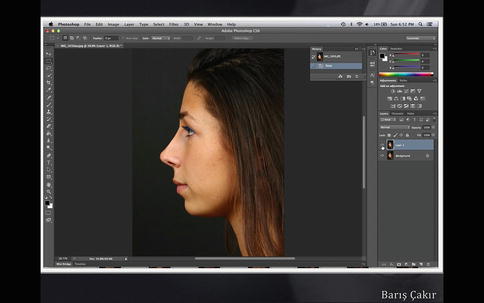
Make a nose that fits the face.

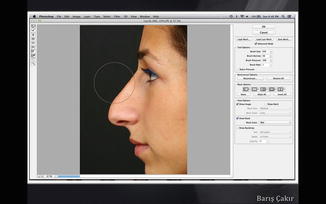
Practice it a few times and correct it over and over again.


Work on tip details.
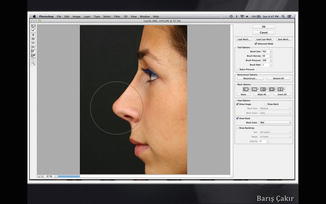
You can use smaller masks for working in detail.

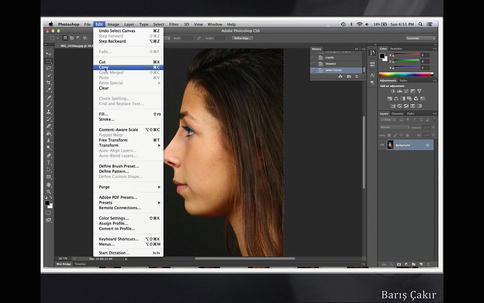
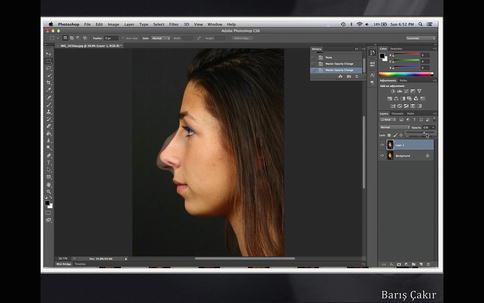
Add an “…..a” to the filename and save. You can therefore save files with extensions such as …..aa, …..aaa, …..aaaa and compare them easily.
Example: IMG_5643a, IMG_5643aa. When you choose sorting photos in the folder by name, your files will be aligned in order.
1.9 Shadowing the Images
Determine the work that fits the patient’s face. When you paste this photograph with 50 % density into the patient’s original photograph, you can determine the differences between the original nose and the nose you want.
You should choose the whole picture at the beginning in order to copy the work you like.
Macintosh: cmd-A (Windows: CTRL-A): this will select the entire picture.
Macintosh: cmd-C (Windows: CTRL-C): this will copy the picture.
Go to the history and choose the original picture.
With the paste command, the new nose will be pasted on the older one as a new layer.
Macintosh: cmd-V (Windows: CTRL-V).
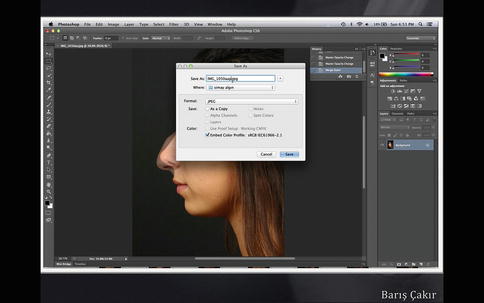
In the following photograph, two layers are formed. In the upper layer you can see our work. The original photo cannot be seen as it is underneath. When decreasing the contrast of the upper layer, the photograph in the lower layer becomes visible.
From the layer adjustment menu on the right, set the opacity of the upper layer to 50 %. In this way you can see the difference between the two noses.
If we save this document as JPG, we can store it easily. The file that has more than one layer can only be saved as PSD format and opened by the Photoshop program. Because of this choose merge down under the layers menu.
cmd-E: Pastes all layers.
Now the file can be saved as JPG,

and you can see one layer on the right.

Add “….plan“ to the name of the photograph and save.
Example: IMG_5643plan
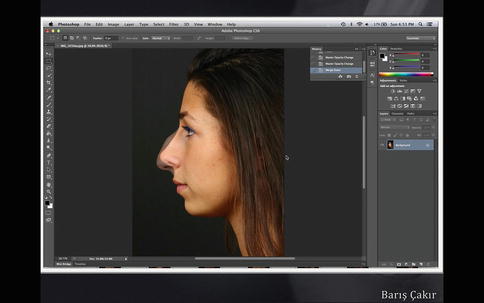
The shaded picture gives information to the surgeon about the rotation and the amount of the hump to be removed. You can use this picture in order to determine the new tip point. We will use a shaded picture in surgery drawings.
1.9.1 The Importance of Photography and Imaging
Make your design yourself.
Do not undertake surgery without design.
For instance, you can get rid of a humped nose illusion as a result of a low tip.
Make changes to forehead, chin and cheek.
The lowest point of the nose radix should be a little in front of the eyelashes. In the profile view, if the eyelashes of the other eye are visible, it is more rational to fill the nose radix.
Note
It is not appropriate to have fixed rules for aesthetic issues. You can choose to create a higher or lower nose ridge, but you should not forget that, when you lower the dorsum, the nasal body becomes indistinct in frontal view. Thus, a low nose ridge requires more infracture.
Related posts:

Stay updated, free articles. Join our Telegram channel

Full access? Get Clinical Tree


